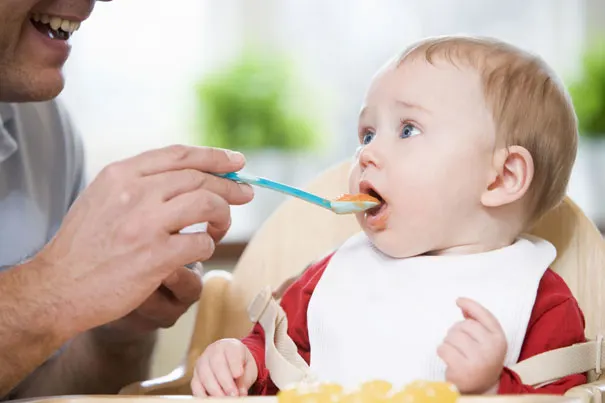
Homemade babyfood: how to make babyfood
brought to you by Kim Galeaz R.D.
Now that your little one is ready for solids, you may want to consider making your own baby food rather than buying commercially prepared brands. Homemade baby food can be just as delicious and nutritious as store-bought versions, providing all the critical nutrients needed for good health and growth. And if you enjoy cooking, this is a great way to expand your culinary skills.
Here are Some More Good Reasons to Make Your Own:
It can be more economical than buying commercial brands.
You can custom-tailor the flavors and textures.
You can expose your baby to a great variety of healthful, fresh foods. Virtually all fruits, vegetables, meats, poultry, and fish can be turned into tasty baby food.
Making your own baby food is easy and quick, once you get the hang of it.
Rest assured that no matter which type of food you serve, home-cooked or commercially prepared, your baby will grow and thrive.
Preparation and Cooking
Follow these tips for preparing and cooking the food you'll serve your baby.
Buy the freshest and best quality fruits, vegetables, and meats you can afford.
Keep foods at a safe temperature. Refrigerated foods should be 40 degrees Fahrenheit or slightly below that temperature; frozen foods should be 0 degrees. Buy thermometers for both the refrigerator and freezer and keep them there permanently.
Wash hands thoroughly with hot, soapy water and rinse carefully before handling any raw or cooked foods.
Clean and wash all foods thoroughly before cooking. Remove any blemishes and bad spots from fruits and vegetables as you prepare them. Trim excess fat from meats.
Use one cutting board for chopping fruits and vegetables and another for meats. This eliminates crossover contamination.
Keep all your cooking utensils and supplies clean; this includes sponges and dishrags.
Be aware that fruits don't need to be cooked before pureeing. After cutting into pieces, simply puree in the blender or food processor.
Thoroughly cook vegetables, preferably by steaming. Steaming retains more of the vitamins and minerals. Avoid overcooking, though, which removes crucial nutrients.
Thoroughly cook meats to medium or well done—at least 160 degrees Fahrenheit. Broil, bake, or saute with cooking spray.
Save the cooking liquid from vegetables and meats and use it to thin the baby food mixture if necessary.
Puree or grind foods to the desired texture and consistency. No need to add salt, sugar, or seasonings.
Your baby will learn to love the flavor of fresh, unseasoned foods.
Equipment and Supplies
Other than basic kitchen cooking equipment, you'll only need a few extra pieces:
A food processor or blender for pureeing meats, vegetables, and fruits to a smooth consistency. As your child advances to foods with a chunkier texture, you can simply use a fork or potato masher.
An inexpensive steamer to put in your pan with water when cooking vegetables. This will prevent precious nutrients from being cooked away, since the vegetables aren't touching the water.
If you decide to make large batches of baby food and freeze for later use, you'll also need these items:
Ice cube trays
Cookie sheets
Waxed paper or cellophane wrap
Zippered freezer bags
Freezer tape
Marking pens
Making Baby Food From Table Foods
Adapting the foods you normally serve at mealtimes is a great way to start exposing your child to the flavors and foods that older kids and adults typically eat.
Just follow these guidelines:
Puree portions of adult table food BEFORE you add any strong seasonings or salt.
If you're not going to serve cooked food immediately, you can keep it in the refrigerator for up to two days. Throw it out after two days.
Avoid using fried foods. They add too much unhealthy saturated fat to your baby's diet.
Test the temperature of cooked or reheated food with your finger to make sure it's not too hot. Stir well to avoid pockets of heat, which are especially common in microwaved food.
If your baby doesn't eat all the food placed before him, throw out the leftovers. Never reheat and reserve (to avoid bacterial contamination).
Making Baby Food for Later Use
Once food is pureed, pour it into ice cube trays.
Cover the trays with plastic wrap or waxed paper.
If you're preparing large batches, place ice cube trays on cookie sheets and then layer or stack the cookie sheets in the freezer.
Once food cubes are frozen, remove from the trays and place the cubes in airtight zippered freezer bags.
Label and date with marker or freezer tape. (Refrigerated food should be used within two days and frozen foods should be used within two to four months.)
Remove cubes as you need them and thaw in the refrigerator or the microwave. (Start with a small portion to avoid throwing away leftovers; thawing and heating is a snap in the microwave.)
If you've thawed or heated the baby food in the microwave, make sure you check the temperature after you've stirred it but before serving, so it's not too hot. And check that refrigerated food isn't too cold, either..
With these helpful tips and all your love your baby will have wonderful nutritious meals which will save you money!
Join Pampers Club and get:


